

Table of Contents
Smart thermostat installation is one of the highest-ROI home upgrades in 2026, but doing it right means understanding the true costs, potential problems, and ways to maximize your long-term energy savings—well beyond simply following the app setup steps.
Key Takeaways
- Smart thermostats can save 8–26% on annual heating and cooling bills, with payback as quick as 6 months when pairing rebates and budget models.
- Missing C-wires, wiring surprises, and incompatibility with advanced HVAC systems are the most common DIY pitfalls—but solvable with the right prep.
- 2026 rebates, sensor-based zoning options, and brand differences can influence total cost, comfort, and payback in ways most guides overlook.
Why Upgrade? 2026 Energy Savings & Smart Thermostat ROI
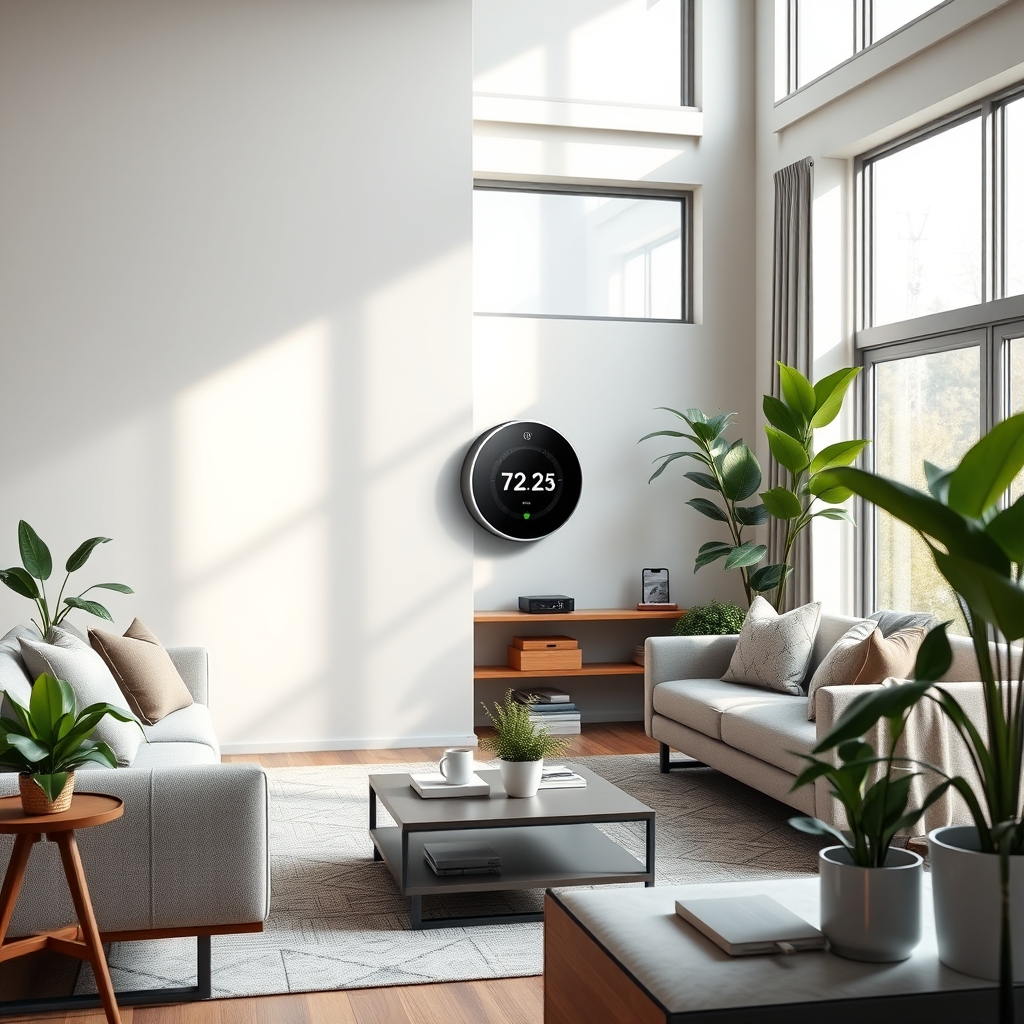
Upgrading to a smart thermostat in 2026 is less about gadget envy and more about securing real-world, year-over-year savings—especially for tech-forward homeowners who want both energy efficiency and comfort automation. Brands like Amazon, Nest, Ecobee, and Vivint deliver different ROI profiles. For example, current 2026 data shows:
- Amazon Smart Thermostat ($59–$80): Delivers 8–15% heating and cooling bill reduction, with cost recovery in 6–12 months after typical rebates.
- Nest Learning/Ecobee Premium (~$250): More advanced auto-scheduling, room sensors, and Alexa integration—reaching payback in 1.5–2 years with rebates, under a year in incentive-heavy states.
- Vivint Smart Thermostat: At a higher price tier, can save up to $300 per year in larger homes and works seamlessly with home automation hubs, often reaching payback in just under two years when paired with a $50 utility rebate.
Rebates like the $50 Focus on Energy incentive or PSE&G’s $50 rebate (plus extra credits for FlexPower enrollment) compress payback even more—putting real savings within reach for most single-family and multi-zone homes. Advanced models excel for homes with complex zoning and larger HVAC loads, but even basic smart thermostats offer a rapid return and hands-off automation, making them one of the rare home tech upgrades that truly pay for themselves.
DIY Installation: Step-by-Step, Real Costs & Pro Tips
If you’re comfortable with a screwdriver and can reliably cut power at your breaker—and you double-check compatibility—DIY smart thermostat installation can keep your upfront costs low. Here’s how to tackle the project and avoid the most common wiring and app setup blunders that trip up even handy homeowners.
- Turn off HVAC Power: Find your furnace or air handler breaker and switch it off.
- Remove Old Thermostat: Take a clear photo of wire connections before detaching anything. Label wires using stickers provided in your new thermostat kit.
- Check for a C-Wire: Most Wi-Fi thermostats need a “C” wire for constant power. No C? You may need a Power Extender Kit (often included) or to hire an electrician for a new wire run ($100–$150 for labor plus attic access if required). See our full C-wire troubleshooting guide.
- Confirm HVAC Compatibility: Use your chosen manufacturer’s smart thermostat compatibility checker. Watch for issues with multi-stage heating/cooling or heat pumps.
- Install the Base Plate: Level carefully. Do not overtighten screws, especially into drywall (use anchors if needed).
- Connect Wires: Insert labeled wires into the corresponding terminals. If you ran a new wire or used an adapter, double-check connections.
- Mount Thermostat & Restore Power: Clip the main unit on, then restore power at the breaker.
- Follow App Setup: Many smart thermostat apps walk you through setup, Wi-Fi connection, technician settings, and geo-fencing. Set your preferred temperature schedules and enable energy-saving modes.
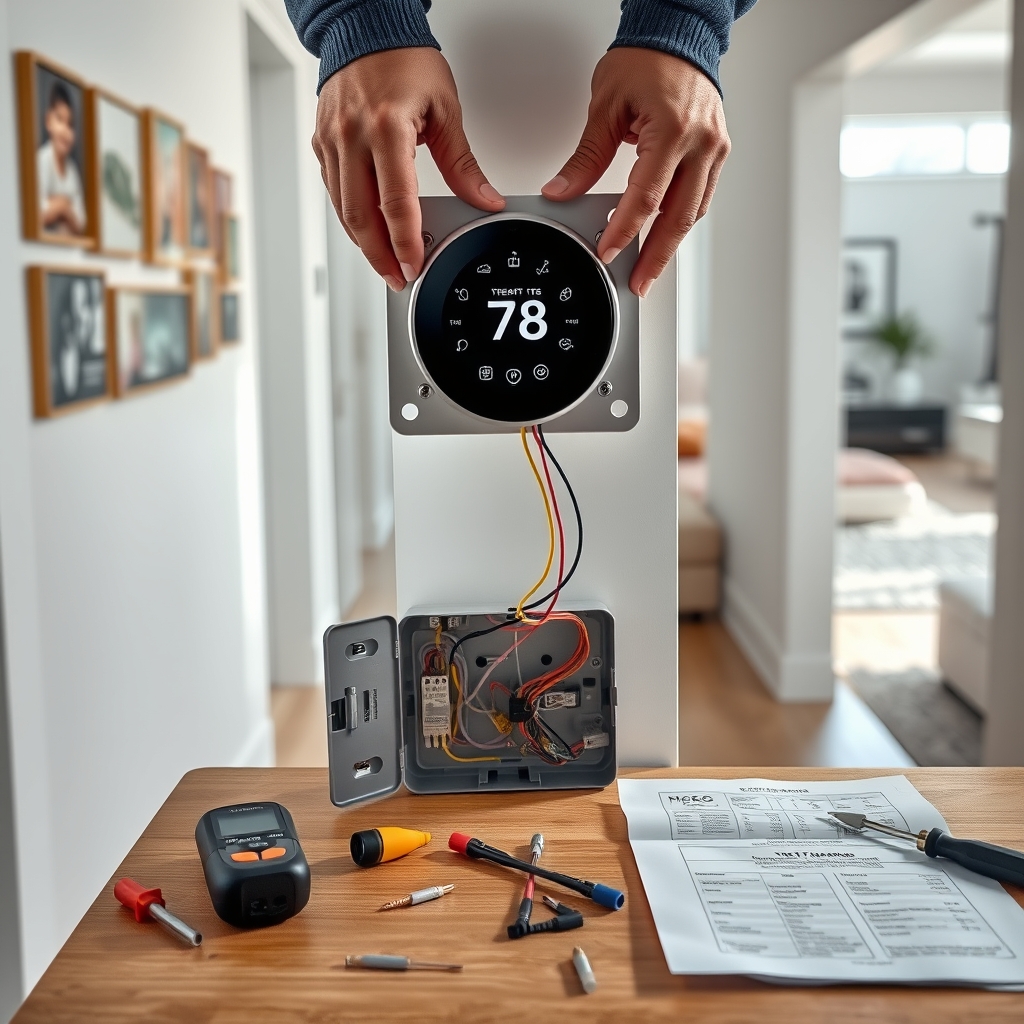
Most installations are under 60 minutes, but total project cost can rise if unexpected wiring or compatibility issues appear. Basic units start at $60, but for multi-zone homes, expect to spend an additional $150–$300 per extra zone for hardware and sensors—especially if you want full-room-by-room control or advanced app features.
You’ll find more guidance for tech-friendly home upgrades in our guides on EV charger installation at home, pairing smart thermostats with net-zero ready home platforms, and energy-efficient HVAC solutions like the heat pump dryer.
Advanced Analysis & Common Pitfalls
Even experienced homeowners run into roadblocks with smart thermostat installation. Here are the most frequent snags, plus a brand-by-brand analysis to clarify which model might fit your home—and avoid headaches.
| Brand/Model | Estimated Annual Savings | Price Range (2026) | Payback Period With Rebate | Best For |
|---|---|---|---|---|
| Amazon Smart | 8–15% | $59–$80 | 6–12 months | Budget, single-zones, rental units |
| Nest Learning | 10–13% | $200–$250 | 1.5–2 years | DIY, strong app, multi-zone |
| Ecobee Premium | 12–15% | $220–$260 | 1.5–2 yrs (or <1 yr w/ stacked rebates) | Sensors, zoning, Apple HomeKit |
| Vivint Smart | Up to $300/yr | Bundled, premium plans | < 2 yrs with rebates/incentive | Full smart home + security link |
- Missing or Unlabeled C-Wire: Without steady power, most Wi-Fi thermostats won’t operate reliably. Solutions include using a power extender kit or C-wire adapter, or budgeting for pro wiring help. Expect $100–$150 in added cost if professional intervention is needed.
- Multi-Stage & Heat Pump Problems: Older or complex HVAC systems may cycle on/off unpredictably or fail without a compatible smart thermostat—always run your brand’s compatibility check.
- Poor Thermostat Placement: Avoid mounting on exterior walls, near windows, or directly in the line of HVAC vents, as this will skew temperature readings and waste energy.
- Firmware & Security Neglect: Smart thermostats require regular firmware updates to maintain security and access new efficiency features. Skipping these can reduce your device’s lifespan and expose you to bugs or hacking threats.
- Cost Overruns: Extra zones ($150–$300 per zone), replacement of incompatible controllers, and new sensors can push project costs higher than planned for multi-zone homes.
For those considering more extensive comfort and efficiency upgrades, pairing your thermostat with an insulated garage door or investing in solar-powered outdoor lights can further optimize household energy savings. For apartments, options are easier but savings lower (often 5–8% yearly) and installation is usually limited to a single device.
See how top-performing units scored in long-term durability and comfort during independent testing.

Conclusion
A carefully planned smart thermostat installation now delivers 8–26% annual heating and cooling savings, with ROI further boosted by rebates and app-based automation. Get your wiring right, check compatibility, and think long-term on zoning and durability. Smart thermostats are a rare smart home project that reliably pays you back—often sooner than you expect.
Ready to try smart thermostat installation? Check your compatibility first, claim available rebates, and explore our full installation walkthrough for step-by-step visuals. Don’t forget: if you hit a wiring or zoning roadblock, consulting a pro may be cheaper than repairing a damaged HVAC system.
Smart Thermostat FAQ
What happens if I don’t have a C-wire?
Most modern smart thermostats need a C-wire for constant power. If yours is missing, use a power extender kit, a wireless C-wire adapter, or hire an electrician for a new run (often $100–$150 additional cost).
How do utility rebates work for smart thermostats in 2026?
Typically, you must buy a qualifying device and apply by submitting the serial number and your utility account. Focus on Energy and PSE&G both offer $50 rebates for eligible models, and bonus credits may be available for joining demand-response or FlexPower programs. Always check current rules and deadlines.
What’s the lifespan, and do smart thermostats need maintenance?
Expect a 10-year average lifespan, but only with regular firmware updates and indoor use away from attic heat or moisture. Occasional dusting, checking for app updates, and secure Wi-Fi also help.
Can I use a smart thermostat with multi-zone HVAC or radiant systems?
Yes, but each zone usually needs its own device or sensor, and zoning integration adds $150–$300 per zone. Complex radiant or heat pump systems may require professional configuration or controller upgrades.
Are there any overlooked costs or “gotchas” with DIY installs?
Common surprises include the need for a C-wire, brand-mandated compatibility quirks, poor placement reducing savings, and costs for extra zoning or sensors. Planning for these in advance reduces total project cost and hassle.