

Table of Contents
Budget kitchen refresh is how everyday homeowners are achieving remodel-worthy results for a fraction of the traditional kitchen renovation price. If you want a dramatic transformation for under $5,000—with fast timeline, clear steps, and less risk—this guide will show you the exact approach. Get ready for step-by-step methods that protect your wallet, increase home value, and sidestep common DIY fails.
Key Takeaways
- A budget kitchen refresh under $5,000 can save you 50–70% over a full remodel by focusing on cost-effective visual and functional upgrades.
- Paint, hardware, peel-and-stick backsplash, and smart lighting are high-impact, low-risk upgrades you can tackle DIY or with limited professional help.
- Minor kitchen remodels recoup nearly 96% of their cost at resale—top ROI is found in cosmetic upgrades, not total gut jobs.
Why choose a budget kitchen refresh (not a full remodel)
A budget kitchen refresh is the fastest path to achieving high-impact visual upgrades and improved function—without the sticker shock of structural renovations. While a mid-range full remodel often costs $25,000–$80,000[3], a budget kitchen renovation under $5000 targets only the cosmetic “bang-for-the-buck” improvements: painting, hardware, backsplashes, basic lighting, and smart storage.
Timeline? Most can complete a refresh in under 8 weeks, start to finish. Financially, a budget kitchen refresh typically saves 50–70% compared to a full remodel[2]. Set realistic expectations: you will not move walls, rewire, or install luxury appliances—but you can absolutely transform the look, feel, and value of your space on a normal working family’s budget.
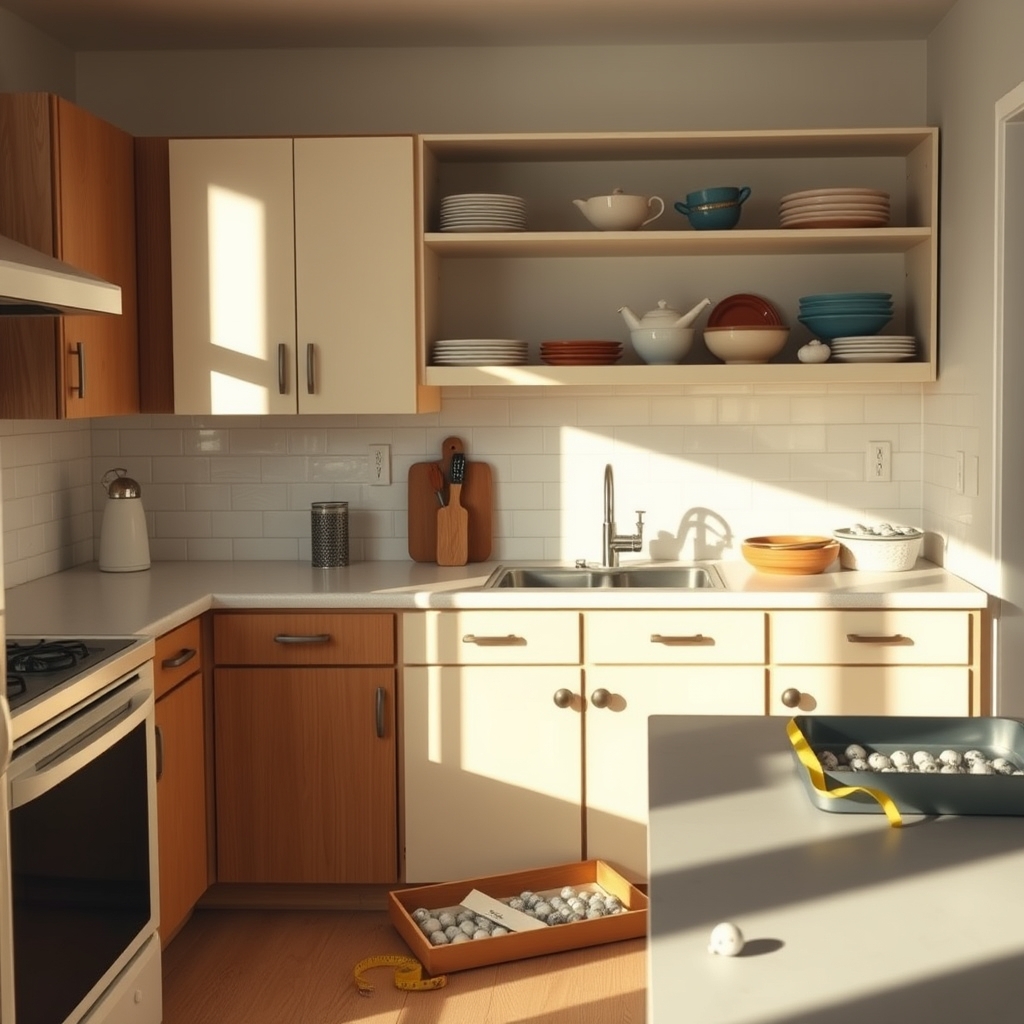
Quick 6–8 week plan to refresh a kitchen under $5,000
Here’s how you can organize your budget kitchen refresh into clear phases. Copy this timeline and budget shell to stay on track:
| Phase | Week(s) | Typical Tasks | Sample Budget ($) |
|---|---|---|---|
| Plan & Shop | 1 | Design, measure, order materials | 200 (tools, samples, supplies down payment) |
| Demo/Prep | 2 | Remove old hardware, clean, sand, mask, patch holes | 100 (disposal, patch kits) |
| Cabinets/Paint | 3–5 | Clean, prep, sand, paint or update cabinet doors | 700–1,400 (paint, brushes, sandpaper, possible pro help) |
| Hardware/Fixtures | 5 | Install new pulls, handles, faucet, minor plumbing | 200–400 |
| Backsplash | 6 | peel-and-stick backsplash tile, edge seal, grout (if needed) | 250–600 |
| Lighting | 6–7 | Smart undercabinet lights, fixture swaps | 180–400 |
| Styling/Finish | 7–8 | Organize, install storage, style | 200 |
| Total (adjustable) | 2,000–3,800 | ||
You can allocate the remaining budget toward flooring, countertop overlays, or contingency (see later sections).
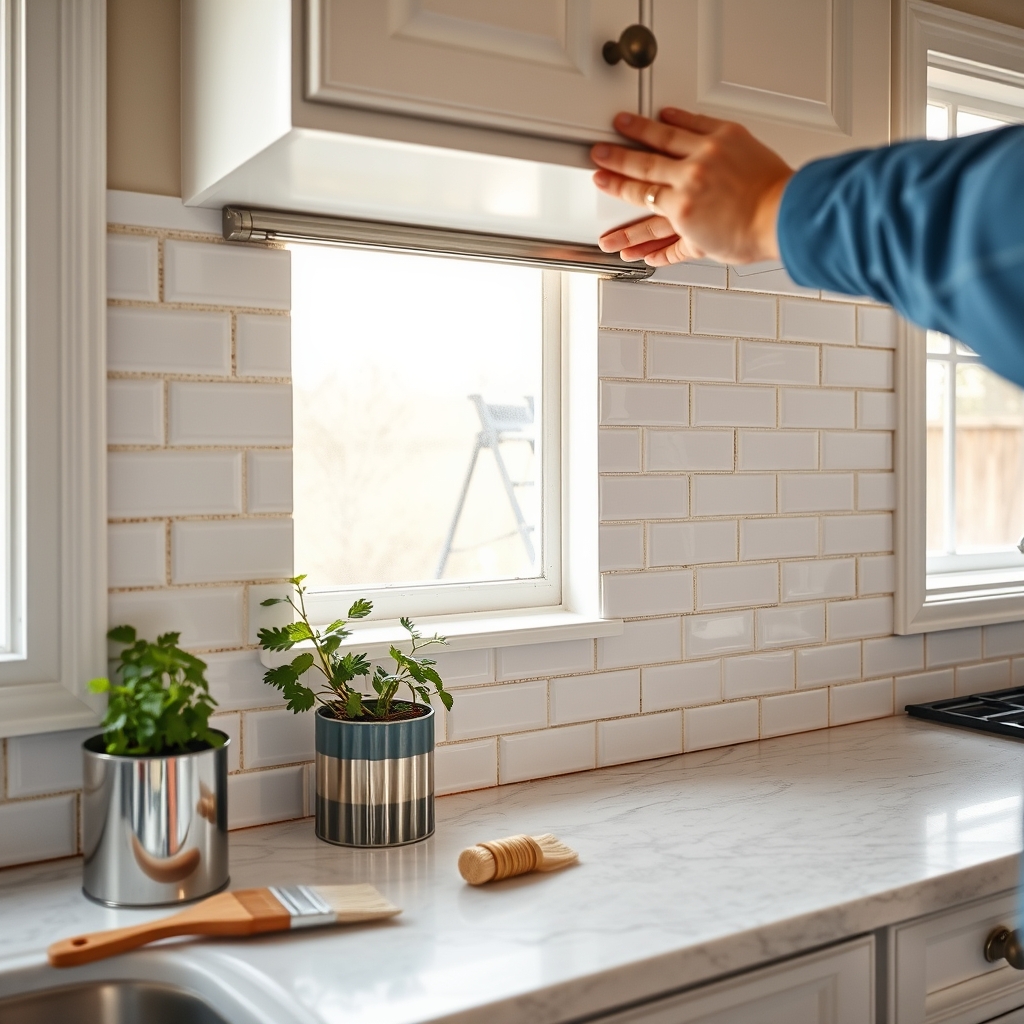
Remember: a kitchen update without remodel is totally doable with smart phasing and product choices. Need more guidance? Check out our kitchen cabinet painting guide and smart lighting starter kits for deeper dives.
Cost breakdown: where your $5,000 goes (realistic line-item examples)
Here’s a realistic breakdown for a budget kitchen renovation under $5000. Always adjust for local prices and priorities:
| Line Item | Low/DIY ($) | Pro Install/High ($) | Tips |
|---|---|---|---|
| Cabinet Paint & Supplies | 150 | 700 | Prep is key; don’t skimp on degreasing/priming |
| Hardware (pulls, knobs, hinges) | 60 | 250 | Upgrade all at once for maximum impact |
| Peel-and-stick Backsplash | 80 | 300 | Only works on clean, flat walls. See review |
| Smart Lighting (undercabinet, fixtures) | 80 | 300 | DIY kits reduce wiring hassle |
| Countertop Overlay (laminate, kit) | 350 | 1,200 | Countertops average $1,870–$4,400 full replacement[1] |
| Labor (handyman, painter, electrician) | 200 | 1,000 | Mix DIY with pro help for best results |
| Styling/Organizers | 50 | 200 | Target hidden storage for functional boosts |
| Total | 970 | 3,950 |
Countertops alone can be 10–20% of a total kitchen budget[1]. For most, refinishing existing counters or using overlays keeps the budget in check so you can spend more on visible updates like paint and lighting.
How to update kitchen without replacing cabinets — step-by-step (the most impactful cabinet strategies)
Avoiding full cabinet replacement saves thousands. Here’s how to refresh what you already have:
- Deep Clean: Remove all doors and hardware, then scrub with a degreaser. This ensures paint or primer adheres properly.
- Paint: Use a high-adhesion bonding primer and quality enamel or cabinet paint. Light sand between coats for a pro finish—see the paint kitchen cabinets DIY checklist for sequence.
- Partial Door Replacements/Open Shelving: Only swap out damaged doors or add a couple of open shelves for a modern lift (great for display and easier access).
- Add Trim or Edge Moulding: Crown, shoe, or edge trims above/below give instant depth.
- Insert Hidden Storage: Slide-in pull-outs, lazy Susans, or vertical dividers in existing cabinetry increase capacity and usability, without a remodel.
If your cabinet boxes are solid (no warping, heavy damage): always refresh first. Reserve replacement for older boxes with failed structure or severe mold or rot.
For floating shelving essentials, read our open shelving kitchen ideas guide.
Paint kitchen cabinets DIY — a fail-proof process and common regrets to avoid
Painting your cabinets delivers the most visual impact per dollar spent. Here’s the process most likely to succeed—and major pitfalls to avoid:
- Prep: Remove doors, degrease thoroughly, patch holes, sand everything lightly.
- Prime: Always use a stain-blocking, bonding primer (water or oil-based, not drywall primer).
- Paint: Use quality cabinet enamel. Sprayers yield the smoothest finish, but top-rated synthetic bristle brushes and foam rollers are acceptable for small jobs.
- Dry/Cure: Allow full cure time between coats—don’t rush or you’ll ruin the finish (most regrets arise here).
- Reinstall: Only after everything is dry to the touch and hard (usually at least 24–48 hours after final coat).
- Many DIYers wind up with uneven paint—or peeling/poor adhesion—by skipping the degreaser or using the wrong primer.
- If you see bleed-through or major brush marks even after careful coats, consider calling a pro for the last coat/top finish only.
Need more techniques? Visit our paint kitchen cabinets DIY resource for visuals and advanced troubleshooting.
Kitchen hardware update ideas that elevate the look for minimal cost
Swapping hardware is the best-per-dollar transformation in a budget kitchen refresh—and renters can do it, too. Try these:
- Finish trends: Brushed nickel, matte black, or mixed metals are on-trend for 2025 and boost perceived value.
- Scale up: Install longer pulls (5–8”) on lower cabs for a contemporary look; match hinge finishes for consistency.
- Faucet swaps: Modern faucets begin under $50. Consider a pull-down sprayer or touchless option if you have leftover budget.
Affordable hardware sets can be found under $40 per 10-pack. For deeper insights and picks, see our kitchen hardware update ideas roundup.
Peel-and-stick backsplash: best uses, step-by-step install, and pitfalls
Peel and stick backsplash kits work great for renters and homeowners seeking mess-free, grout-free kitchen upgrades. But some surfaces and situations spell trouble.
- Works best on: Clean, smooth, flat drywall or painted tile.
- Surface Prep: Wipe with isopropyl alcohol; use a razor to trim edges for a snug fit.
- Press firmly and seal: Use a laminate roller to maximize adhesion. Seal vulnerable edges with clear silicone caulk (especially behind sink/stove).
- Maintenance: Clean only with a non-abrasive sponge and mild soap; avoid scouring pads.
Most DIY failures come from dust, grease, or moisture left behind before sticking. Fixing involves redoing the section—not fun. For side-by-side visuals and brand picks, check our peel-and-stick backsplash review. Real users report much higher long-term satisfaction when thorough prep is done in advance.
Smart lighting and hidden storage — the 2025 updates most guides miss
The newest kitchen refresh ideas 2025 aren’t just about looks—they’re about smart function:
- Smart undercabinet lighting: Plug-in or battery LED strips give you zone task lighting, set with a remote or phone app. Kits under $50 now exist.
- Hidden storage: Add pull-outs, toe-kick drawers, and adjustable vertical dividers for better access and organization in old cabinet boxes.
- Concealed organizers: Use spice pull-outs, lazy Susans, or recycling cabinet bins designed to retrofit into existing frames.
Missed by most DIY guides, these upgrades are both budget-friendly and massively increase perceived value for homebuyers[5]. For the lowest cost and smoothest install, see our review on install under cabinet lights.
Flooring, counters, and other “big-ticket” visual tricks when you have extra budget
If you finish the core upgrades under $4,000, consider putting leftover funds here:
- Countertop overlays: Laminate or butcher block counters often run $350–$1,200 DIY; marble-look adhesive kits offer another budget route.
- Floating vinyl plank flooring (LVP): Install over existing tile/laminate for as low as $1.50/sq.ft. (check our best LVP flooring brands guide).
- Adhesive or epoxy overlays: Turn dated Formica or tile counters modern for $150–$400 per kit—this is a shortcut that will not last as long as a real replacement, but offers visual pop for up to 5 years.
Remember: countertops typically account for 10–20% of remodel spend. If yours are serviceable, focus elsewhere unless resale or personal preference demands the upgrade.
Mistakes to avoid and common regrets from DIYers
Based on real feedback, these are the most common regrets in a budget kitchen refresh—avoid these at all costs:
| Regret | Common Cause | How to Avoid It |
|---|---|---|
| Cabinet paint streaks & failure | Skipping cleaning, sanding, or proper primer | Degrease, sand, use only dedicated cabinet primer & paint |
| Bubbles or peeling backsplash tile | Poor surface prep (grease, dust), low-quality brand | Scrub walls, use top-rated peel-and-stick, avoid damp days |
| Over-customized color/hardware | Choosing trendy but polarizing finishes | Stick to classic palettes, test hardware finish in place |
| Lack of lighting in work zones | Relying only on existing overhead fixtures | Always install undercabinet or task lighting kit |
For a deep dive into each, see our guides to painting cabinets and backsplash upgrades.
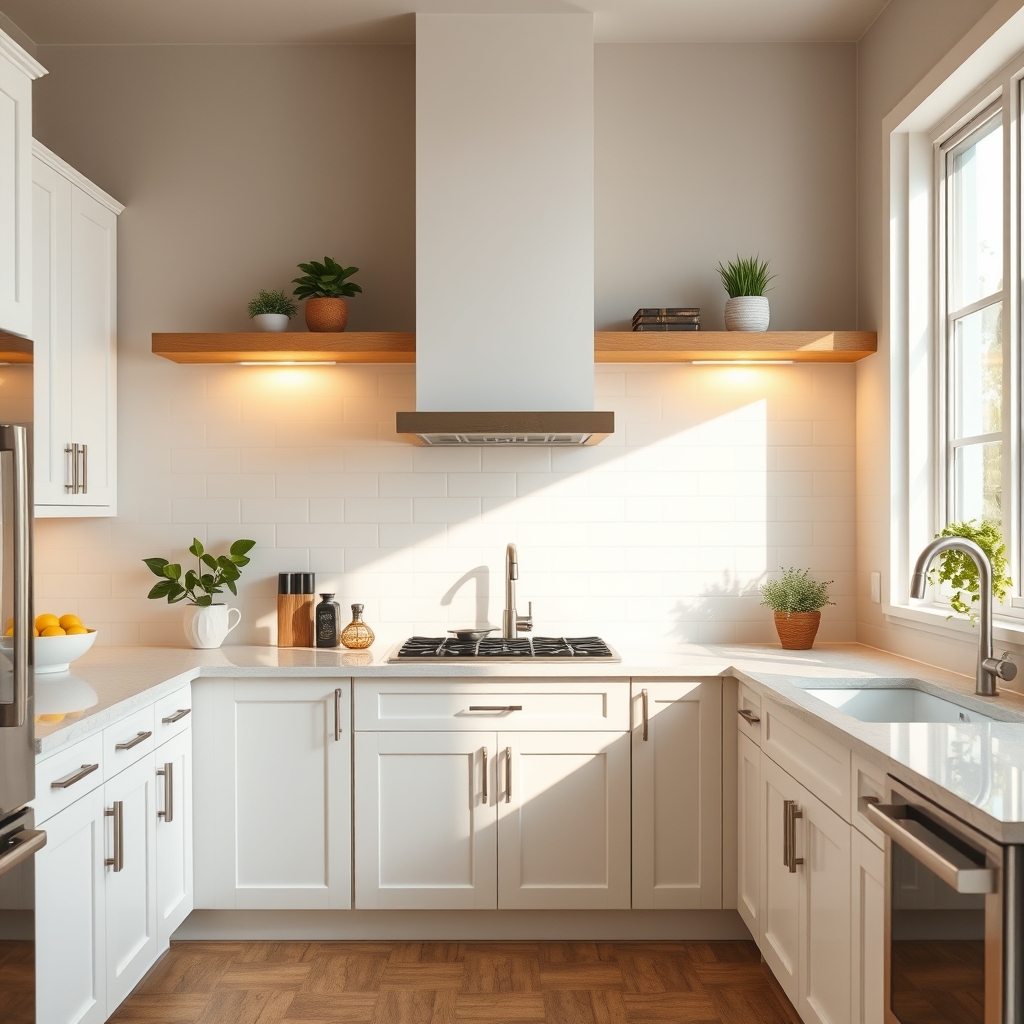
Value & resale: What updates pay off
What updates actually pay off? Research shows that minor kitchen remodels recoup 96.1% of their cost[5], while major ones see only around 49.5% ROI. Focus here for maximum lift:
- Freshly painted, undamaged cabinets (neutral colors = wider appeal)
- Modern hardware (cohesive finishes, sturdy feel)
- Functional and smart lighting in key work zones
- Organization upgrades: pull-outs, dividers, engineered storage
- Simple backsplash (groutless or white subway is classically appealing)
For other home upgrades with ROI, check ventless washer dryer and small bathroom renovation resources.
Quick shopping list & product recommendations (under $50, under $200, splurge picks)
You’re almost ready to start—use this concise shopping list for your budget kitchen refresh:
Under $50
- Quality degreaser & sandpaper (cabinet prep)
- cabinet pulls
- LED undercabinet strip kit
Under $200
- Bonding primer & cabinet paints (see top-rated options in our painting guide)
- Mid-range peel-and-stick backsplash set (24 sq ft covers most kitchens)
- Budget kitchen faucet upgrade
Splurge Picks
- Paint sprayer rental ($40–$60/day)
- Luxury hardware or artisan pulls
- Professional countertop overlay install ($600–$1,200)
Basics toolkit: painter’s tape, foam roller set, synthetic brush, step ladder, cordless drill, silicone caulk, stud finder. For product reviews and more picks, see kitchen hardware update ideas and backsplash reviews.
Before/After mini case studies — 3 short examples (realistic budgets)
- Renter Refresh ($300, 1 weekend): Swapped cabinet pulls, added peel-and-stick tile behind sink, attached battery LED under cabinets—doubled kitchen brightness and modernized look for less than a month’s rent.
- Saver Homeowner ($1,500, 3 weeks): DIY’d cabinet painting and new hardware, replaced faucet, installed classic subway peel-and-stick backsplash. Value instantly increased with minimal labor costs.
- All-in Refresh ($4,800, 8 weeks): Painted cabinets professionally, replaced counters with laminate overlay, upgraded lighting to smart zones, custom organizers, and swapped all plumbing fixtures. Showroom-worthy result with top-10% resale value in the neighborhood.
In all, targeted cosmetic upgrades—painting, hardware, backsplash, and new lighting—delivered “remodel-like” transformations while keeping under a budget kitchen renovation under $5000.
Closing checklist + CTA (downloadable budget worksheet)
Ready to start your own budget kitchen refresh? Here’s your one-page checklist:
- ☐ Set project goals and budget cap ($5,000 max)
- ☐ Identify cabinet, hardware, backsplash, and lighting upgrades
- ☐ Assemble supplies and schedule phases by week
- ☐ Test paint and hardware samples before committing
- ☐ Prep all surfaces meticulously—don’t rush this step
- ☐ Use pro help selectively for complex or finish-critical stages
- ☐ Track expenses weekly to avoid cost overrun
- ☐ Download our printable budget/timeline worksheet below
A budget kitchen refresh delivers 50–70% savings versus a full remodel, shortens your timeline, and maximizes resale. Want your own project-planning toolkit? Get the free kitchen refresh worksheet here.
FAQ
Can you really do a budget kitchen renovation under $5000?
Yes. If you focus on cosmetic upgrades—painting cabinets, updating hardware, and adding a peel-and-stick backsplash and smart lighting—a full refresh for under $5,000 is achievable. Avoid moving walls or replacing all cabinetry to maintain budget discipline.
What’s the cheapest way to update my kitchen without a remodel?
Paint your cabinets, install new hardware, and apply a peel-and-stick backsplash. These projects have high impact and you can usually do them yourself over a few weekends.
What mistakes should I avoid with a budget kitchen refresh?
The most common mistakes are skipping surface prep (especially on cabinets and behind backsplashes) and choosing trendy or polarizing finishes that don’t work for resale. Take time to clean, sand, and test samples before committing.
Does painting cabinets really last? Should I call a pro?
DIY cabinet painting can last for years if surfaces are properly prepped and you use the right primer and paint. If you see chips, uneven finish, or major adhesion failure after curing, a professional touch-up or topcoat is a wise investment.
What updates provide the most value at resale?
Light, neutral cabinet paint, matching hardware, functional lighting, and basic storage upgrades (like pull-outs) provide the best ROI—averaging 96%+ of their cost recouped at resale according to national research.
—