

Table of Contents
Limewash paint walls are making a notable comeback among style-focused homeowners who want an artisan finish, authentic sustainability, and improved home health—all without committing to high-maintenance design fads or high-cost boutique plasters. But what does switching to limewash really mean for your budget, your walls, and your indoor air quality in 2026? Let’s dig into the hard numbers, the real challenges, and the clear steps to get the most out of limewash paint, whether you’re a DIYer or hiring a pro.
Key Takeaways
- Limewash paint walls cost less per project than premium latex or masonry paints, with typical material plus labor ranging $1.80–$2.70 per square foot—and can last up to 20 years if maintained.
- Limewash delivers a breathable, natural finish that absorbs carbon dioxide and reduces moisture-related wall problems—making it ideal for health- and sustainability-conscious renovators.
- Downsides include color shift over time (5–10%), tricky touch-ups, and mild maintenance needs—but over half of users still say they would choose limewash again for the living texture and wall health benefits.
What is Limewash Paint and Why Is It Gaining Popularity?
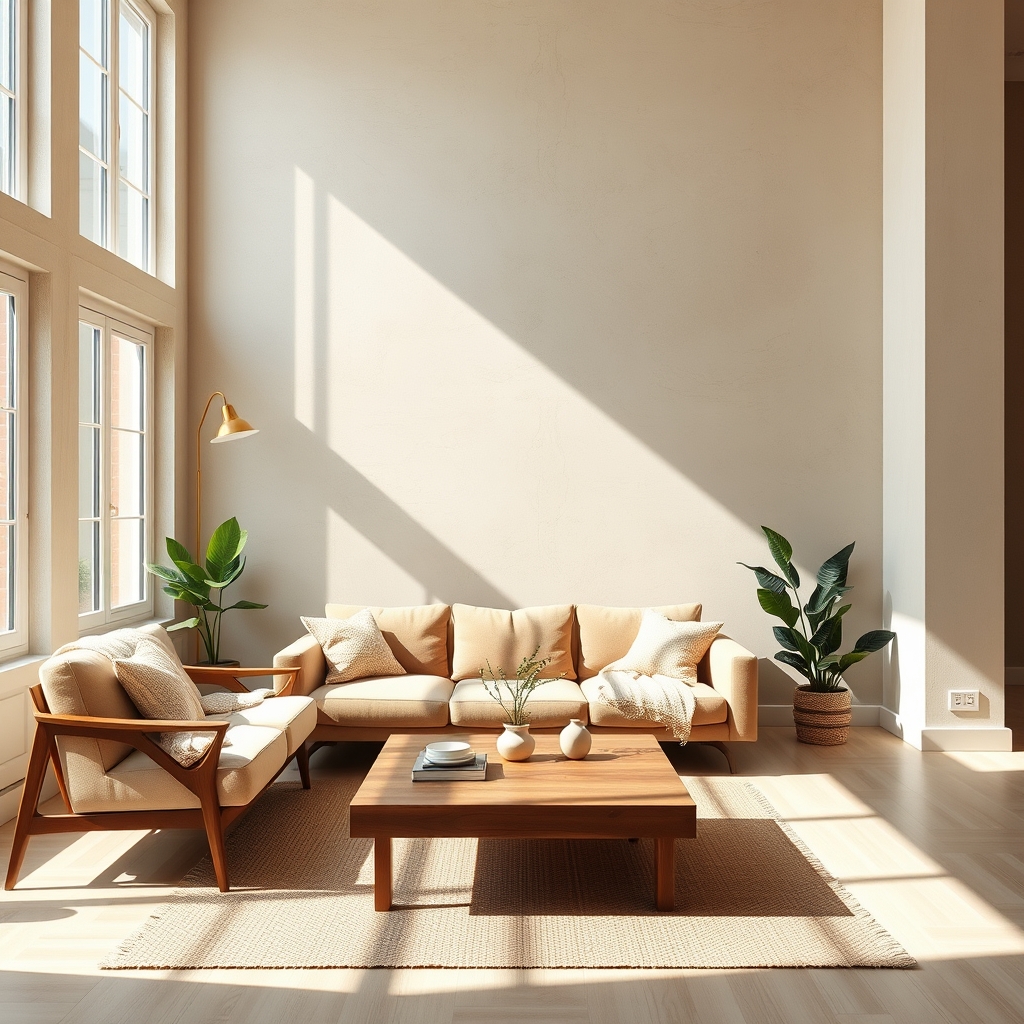
Limewash paint is a centuries-old finish based on natural lime putty or hydrated lime, blended with water and mineral pigments to create a unique, matte surface. Unlike conventional paints, limewash paint walls create a living, subtly textured effect that evolves as light changes and as the surface naturally ages. In recent years, 68% of homeowners specifically cited limewash’s “unique, living texture” and breathability as their main motivation for choosing it over regular paint, according to industry surveys [1].
Limewash surged in popularity with Millennials and Gen X remodelers interested in healthier, low-VOC, artisan wall finishes that also add to resale value. Its main advantages are the non-toxic composition, inherent antimicrobial effects, and ability to let walls “breathe”—reducing mold risk while offering a timeless, soft patina that fits both modern and classic homes. Limewash is now used on everything from interior drywall and plaster to exterior brick and stone facades, often outlasting trendier paint techniques because of its practicality and lower environmental footprint.
Limewash Application 101: Prep, Process, and Pro-Tips
If you’re considering how to apply limewash paint for your next DIY or professional remodeling project, here’s exactly what you need to know for both interior and exterior walls:
Step 1: Assess and Prep Your Substrate
- Best results are achieved on absorbent, porous substrates: bare plaster, older drywall (without acrylic/vinyl primers), brick, stone, stucco—even unfinished or rough wood.
- Clean the wall thoroughly using mild soap and water. Remove dust, wax, old glue, or efflorescence. Rinse well if pressure washing brick.
- Repair cracks, holes, or crumbling mortar. For interior drywall, patch and sand as usual.
- Unlike latex paint, you do not need to prime with a vapor-sealing product. Actually, avoid non-breathable primers at all costs—they trap moisture, leading to failure.
Step 2: Mix and Test the Limewash
- Buy high-quality limewash or mix hydrated lime with clean water at roughly 1:2 to 1:3 ratio—aiming for a yogurt-like consistency for main coats.
- Add mineral earth pigments for color. Remember, natural pigments shift 5–10% toward muted, earthier tones within the first few years.
- Test a patch somewhere unobtrusive, let it dry, and check color and adhesion before proceeding.
Step 3: Application Technique
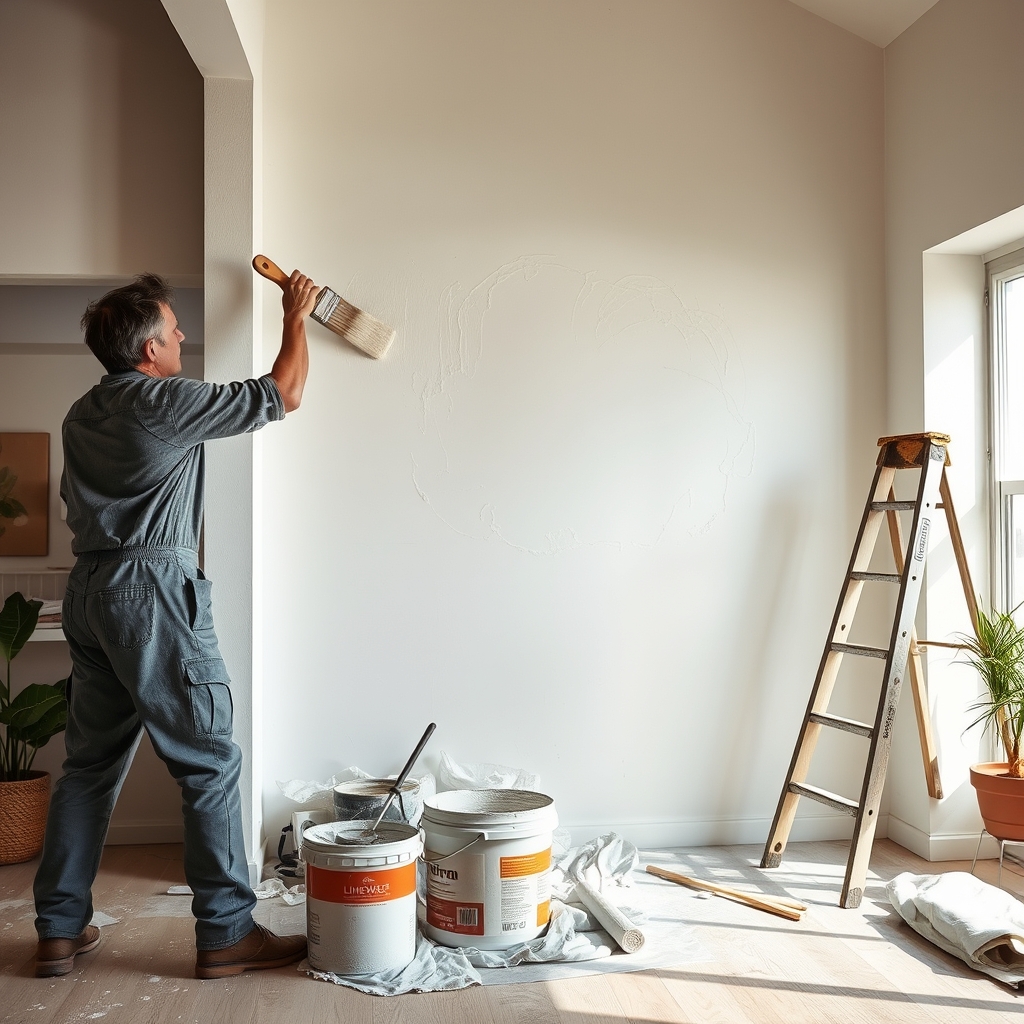
- Use a large, long-bristle masonry or limewash brush, or for broad modern looks, a block brush or sheepskin pad.
- Apply thin coats using loose, crisscross strokes. Let each coat dry 12–24 hours before layering the next.
- Two coats are typical for solid color. For heavy contrast or “cloudy” patina, blend a lighter or darker tone into a still-damp second coat.
- On exterior brick, three coats may be required to withstand weather.
Step 4: Cure and Maintain
- Curing: Limewash fully carbonates and hardens over 2–4 weeks, becoming more durable over time.
- Maintenance: Clean gently with a damp sponge. Expect to refresh touchups or do a full renewal every 5–7 years on exteriors, less in protected interiors.
For seasoned advice and photos of real-world results, check pro guides and firsthand reviews on application pros and cons—like those at JH Wall Paints.
Limewash Paint vs Regular Paint: Cost, Durability, and Pitfalls
It’s easy to get swept up in gorgeous photos, so let’s break down the real numbers, user report data, and cold facts for homeowners comparing limewash paint walls to latex or masonry paint.
Cost Comparison: Material and Labor
| Metric | Limewash Paint | Latex/Masonry Paint |
|---|---|---|
| Material Cost (per sq ft) | $0.80 – $1.20 | $1.75 – $4.50 |
| Labor Cost (per sq ft) | $1.00 – $1.50 | $2.00 – $3.00 |
| Lifespan (before recoat) | 5–7 years (20 years w/refreshes) | 10–12 years |
| Color Stability | 5–10% shift (muted/aged look) | Stable if UV resistant |
| Carbon Sequestration | Absorbs 0.3 kg CO₂/kg of product | None |
| Maintenance Difficulty | Moderate – touchups may show | Low – easy matching |
Common Pitfalls Homeowners Face
- Touch-up Challenges: More than half (55%) of users report that spot repairs are visible due to patina and color shift—expect resets, not seamless blends.
- Color Fading/Shift: Natural earth pigments shift noticeably (5–10%) to muted, weathered tones in the first years. If you want absolute color consistency, limewash may disappoint.
- Durability vs. Stains: Limewash ages beautifully but is more vulnerable to stains than acrylic paints—especially in kitchens or high-traffic exteriors.
- Wall Prep Issues: Applying limewash over non-absorbent, sealed, or synthetic-coated walls leads to uneven, failing results. A vapor-permeable base is non-negotiable.
- Maintenance Frequency: While you can hose off or gently clean exterior limewash, expect to refresh it every 5–7 years for best looks—though substrate protection lasts longer.
- Eco Claims Are Real: Limewash captures up to 0.3 kg CO₂ per kilogram as it carbonates, making it a genuinely lower-carbon finish [8].
Want even more actionable home upgrades? Explore related sustainable projects in our guides on net zero house design, green roofing systems, and biophilic outdoor design for boosting both property value and indoor air quality.
Limewash vs Venetian Plaster: When to Choose Which?
- Finish: Venetian plaster is ultra-smooth, marble-like and dramatic; limewash is matte with soft, cloudy movement.
- Cost: Venetian plaster runs $8–$30+ per sq ft installed, much higher than limewash ($1.80–$2.70 or DIY for less).
- Skill Required: Venetian plaster is a high-skill trade; most DIYers can learn limewash.
- Durability: Both last decades indoors; Venetian is less breathable—favor limewash in older homes or high-moisture settings.
If you want luxurious “old world” drama, Venetian plaster shines. For artisan, lower-carbon, easy-to-refresh walls, limewash wins—especially for whole-home projects.
Conclusion: Should You Limewash?
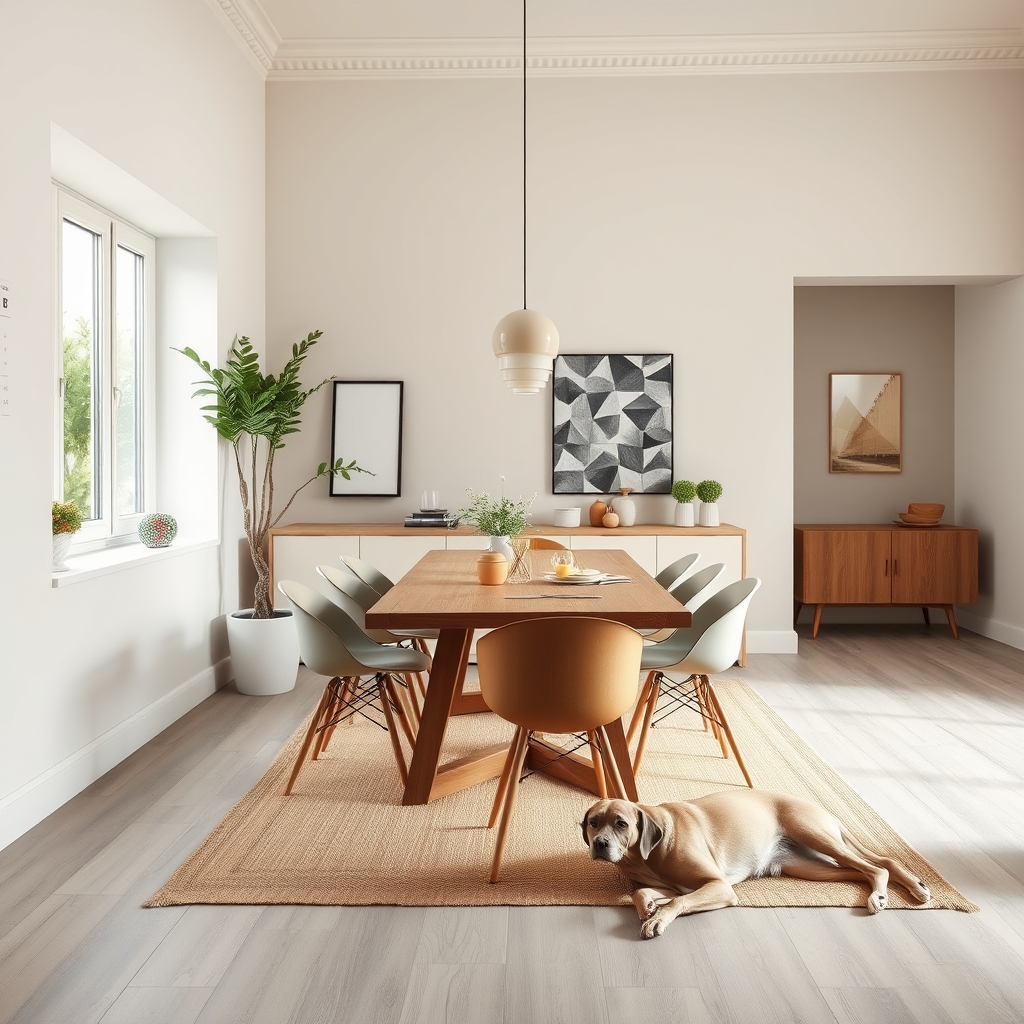
Limewash paint walls combine artisan beauty, wall breathability, and genuine eco-benefits—without the volatile chemicals or plasticized finishes of regular paint. You’ll trade off perfect color matching and an easy maintenance experience for health, value, and style that stand out. If you want the best of natural materials and can live with “wabi-sabi” imperfection, limewash is hard to top. Ready to transform your project? Test a sample, study the quirks, and consider limewash for a finish that only gets better with age.
Get started and explore the best limewash paint brands in 2026—plus more artisan wall finish inspiration—right here. If you liked this actionable guide, check out our how-to articles for DIY backsplash upgrades and eco-friendly laundry solutions to take your renovation even further.
FAQ
How does limewash paint compare in cost to regular paint?
Limewash generally costs $0.80–$1.20 per square foot for materials and $1.00–$1.50 per sq ft for labor when hired out. Premium latex or masonry paint projects range from $1.75–$4.50 for materials and $2.00–$3.00 for labor. Overall, limewash is less expensive upfront and over the long term if maintained.
Does limewash paint really help walls “breathe”?
Yes. Limewash is highly vapor permeable—letting water vapor escape from interior or masonry walls. This reduces mold and moisture damage risk compared to acrylic paints, which form a vapor barrier.
What surfaces can limewash be applied to?
Best results come from porous, mineral surfaces: bare plaster, drywall, brick, stone, stucco, or untreated wood. If the wall is already painted or sealed, a mineral or silicate primer is required for proper bonding.
How do you refresh or repair limewash paint walls?
Touch-ups often show due to color shift and patina. For best appearance, plan for full wall repaints or seamless blends by feathering out new coats. Many homeowners embrace the evolving look as part of the “living wall” appeal.
What’s the most eco-friendly limewash paint brand in 2026?
Several brands lead in natural composition, carbon capture, and durability. Check for third-party environmental certifications. Research reviews for Romabio, JH Wall Paints, and Epodex, which are recognized for sustainability and broad color options [8].