

Table of Contents
Color drenching paint technique is dominating design feeds—and if you aim for a bold, cocooning effect in your bathroom or small room, you need this guide. Skip trend regret and avoid costly mistakes with this step-by-step walkthrough for 2024–25. Whether you DIY or hire out, learn how to get a seamless, modern, mistake-proof look that works for real homes.
Key Takeaways
- Color drenching creates a fully immersive, cohesive look—best for small rooms or bold bathrooms, but requires careful color and finish choices.
- Lighter shades and moisture-resistant finishes are essential for bathrooms or windowless spaces to prevent a cramped or dated feel.
- The most common mistakes are mixing undertones, neglecting ceilings, and leaving bright white fixtures—plan every surface for a true drench effect.
Why color drenching works—design logic
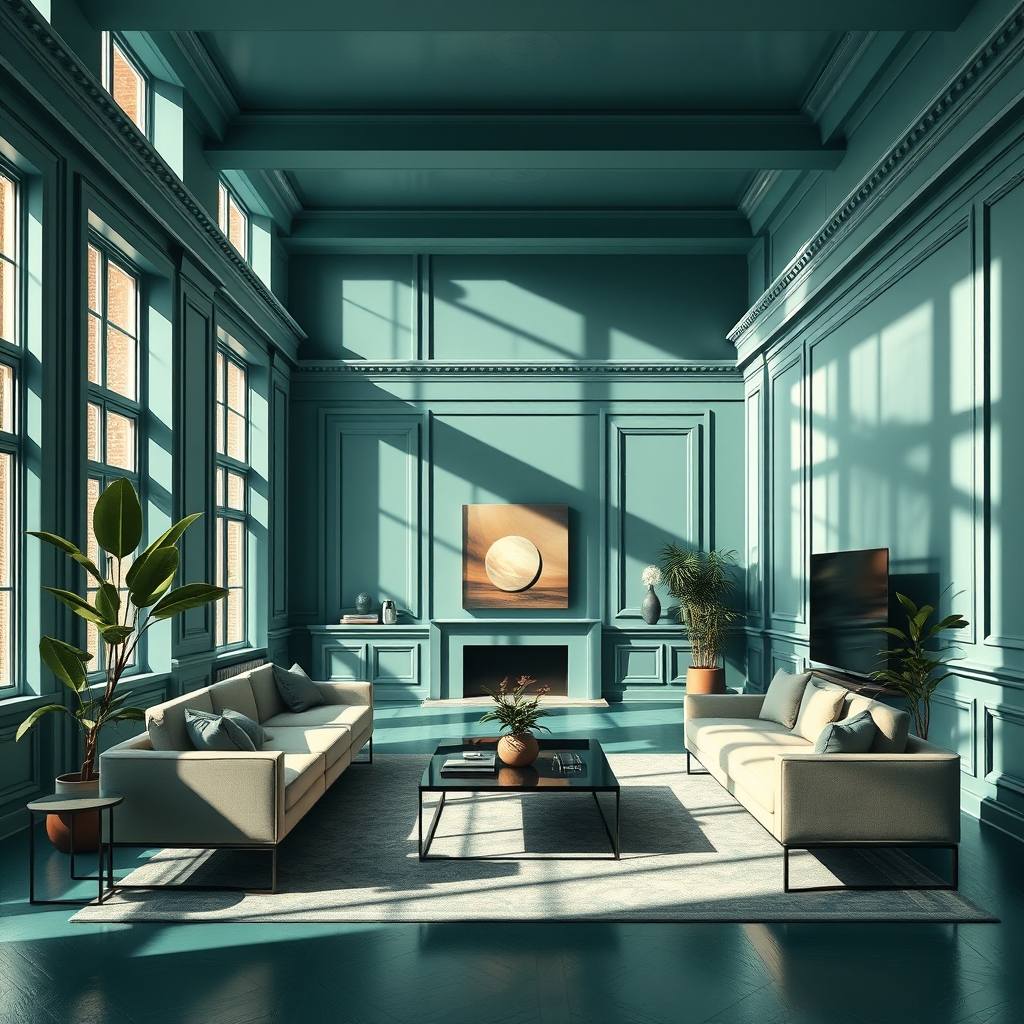
Color drenching interior design means wrapping a room—walls, trim, ceiling, and sometimes even radiators or built-in furniture—in a single color or closely related hues. The result is a seamless, immersive, and often calming effect, making small spaces feel integrated and intentional. Recent trends have expanded color drenching to “double drenching” (using two tones for layered impact), and “material drenching” (incorporating colored woods or textiles for depth).
The power lies in cohesion and mood. According to recent research, “colour drenching creates a fully immersive, cocooning effect” that designers love for its drama or tranquility, depending on the palette. When executed with care, it reads as modern and chic. But going too dark or bright in a small, poorly-lit room can quickly feel overwhelming or boxy.
How to color drench a room—step-by-step
Ready to try color drenching bathroom walls or a bedroom? Here’s a streamlined plan to get results you’ll love, whether you do it yourself or hire a pro.
- Assess your room—Note the size, light sources, and surfaces you’ll paint. If you’re tackling a windowless bathroom or tiny space, commit to lighter shades and reflective finishes.
- Pull undertone swatches—Gather paint swatches in your preferred color. Avoid picking just “blue” or “green”—hone in on whether you want warm or cool undertones.
- Test on location—Paint sample rectangles (two coats!) on several walls, near tiles, and on a piece of trim or door. Assess in natural and artificial light at different times of day.
- Decide on finish—For a color drenching bathroom or powder room, choose moisture-resistant finishes (satin or semi-gloss for walls, eggshell or satin for ceilings, gloss for trim). In bedrooms, eggshell is fine everywhere for a velvety but durable look.
- Plan for full surface coverage—Paint the ceiling and trims the same color unless you deliberately want contrast. Take door color into account—bathroom owners often paint the interior to match, with the exterior matching the hallway.
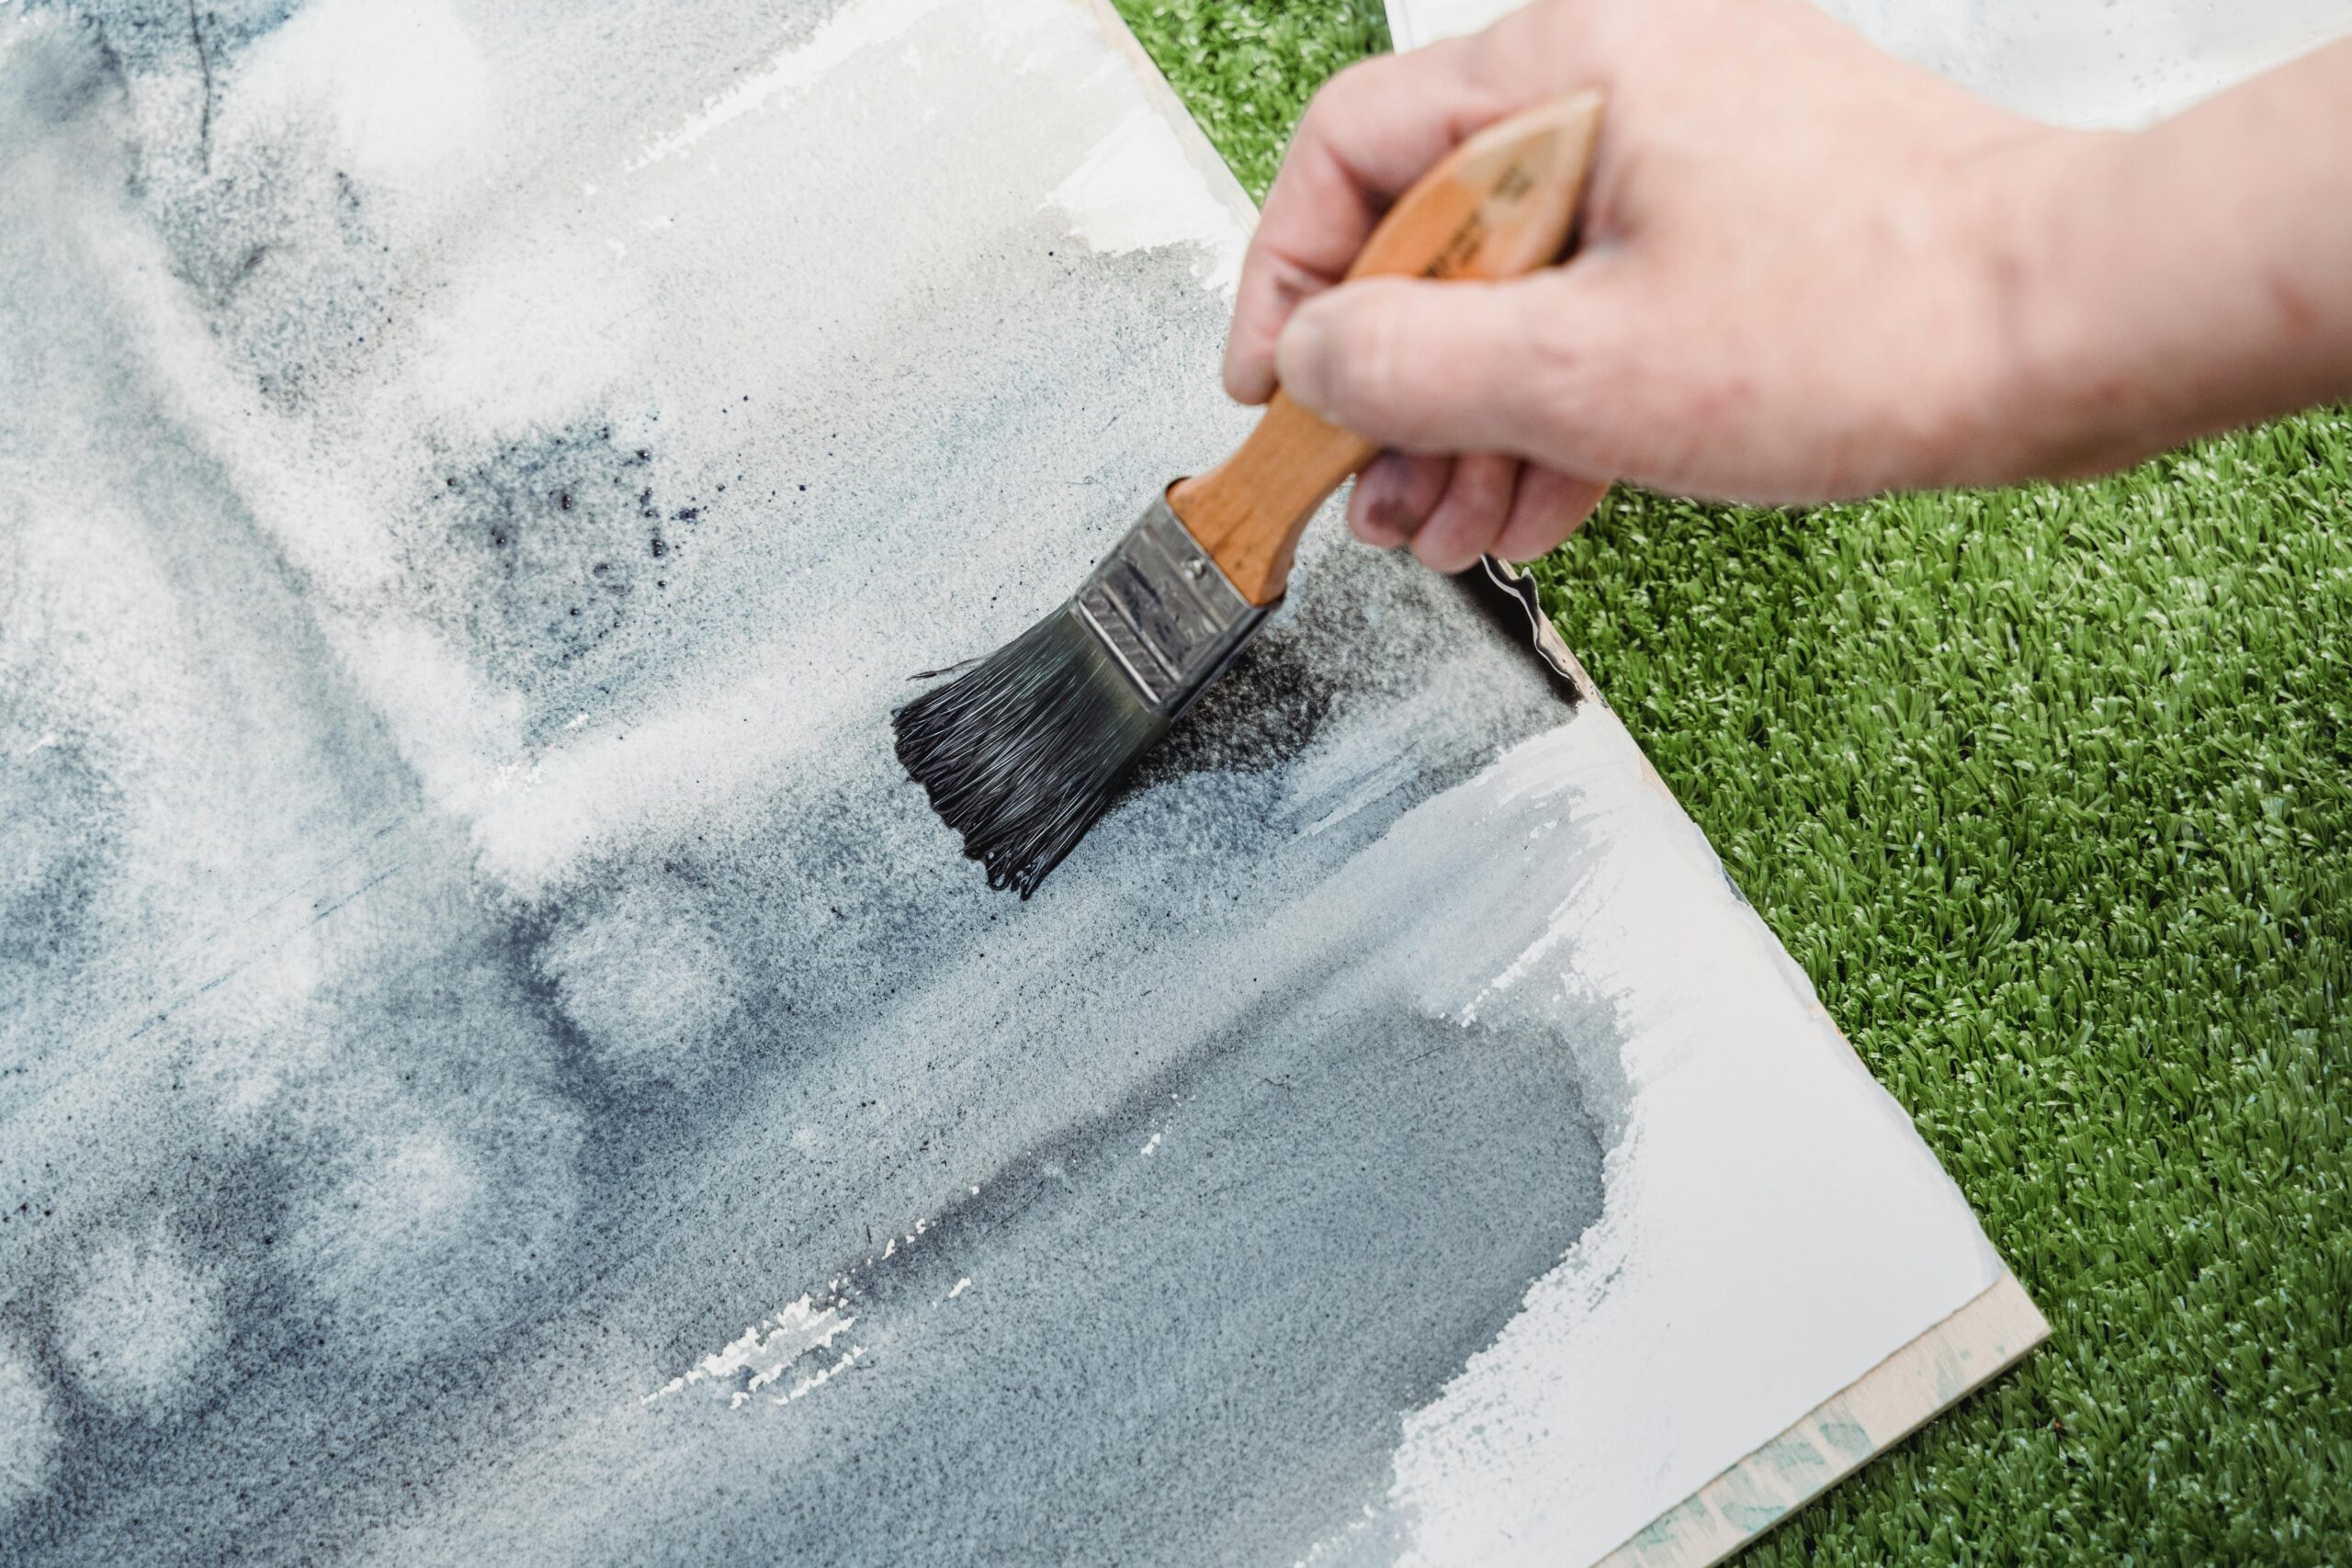
- Prime, tape, and paint—Prep and prime for even color. Use high-quality rollers and a 2” angled brush to cut in. For doors and trim, consider a mini foam roller for a factory-grade finish.
- Style with intention—Opt for monochromatic textiles or select wood/wicker accents to warm up the mood without interrupting the effect.
- Want to modernize your fixtures at the same time? Upgrade to WaterSense fixtures to improve efficiency during your makeover.
Advanced analysis & common pitfalls
Even design pros make mistakes with the color drenching paint technique. Here’s what goes wrong most often—and how to quickly fix it.
| Problem | What Happens | Quick Fix |
|---|---|---|
| Mixing undertones | Walls, trim, or tiles feel mismatched—creates a jarring, “off” vibe | Test all paints and finishes next to tile and stone BEFORE painting. Adjust trim color to a matching undertone if needed. See full guide |
| Neglecting ceiling or fixtures | White ceilings, fans, or vent covers chop up the effect, breaking the immersion | Paint ceilings and fixtures the same shade for unity. Touch up radiators or fans with appliance spray paint if needed. |
| Overwhelming with too-dark colors in small rooms | Feels tight, oppressive, or “shut in”—especially in small bathrooms with no window | Choose lighter or muted shades; add mirrors and reflective surfaces to bounce light. Consider color drenching just halfway up the wall. |
| Moisture issues in bathrooms | Peeling, water spots, or mildew from improper finish | Only use paint labeled “bathroom,” “kitchen,” or “moisture-resistant”; install or upgrade exhaust fans. More bathroom makeover tips |
| Failing to test paints in real light | Color appears muddy, dull, or unexpectedly bold once walls are done | Always sample multiple locations; view at sunrise, midday, sunset, and night. Wait at least 48 hours after painting samples. |
Material drenching and double drenching can sidestep some of these issues by introducing textures or second tones—see how designers layer tone-on-tone with woods or wallpaper here.
- For more on cohesive detail, check out our guides to flooring that complements bold walls.
Conclusion
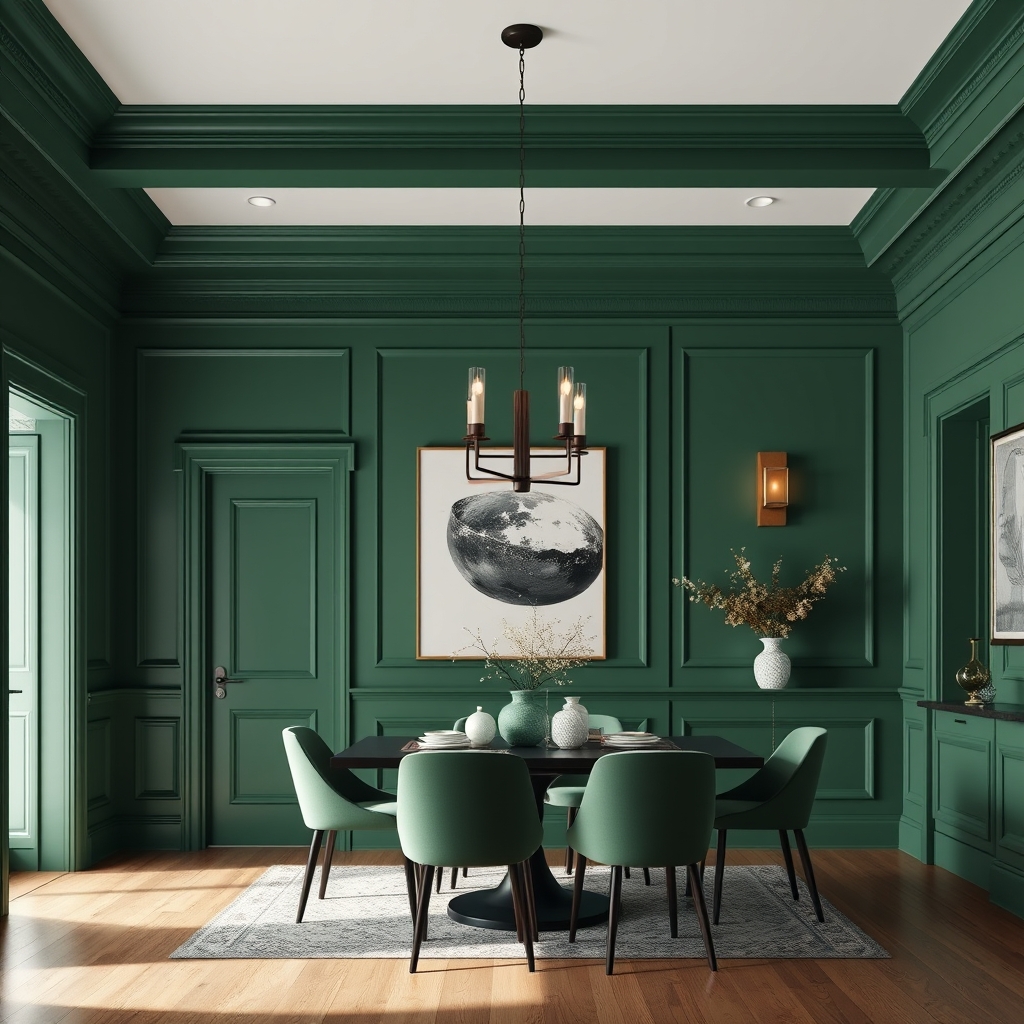
The color drenching paint technique is a sure way to create impact in any bathroom, powder room, or small bedroom—but only if you make every decision with care. Harmonize undertones, cover every surface, and use the right finishes for lasting results. If you’re craving next-level color, double drenching and material drenching open even more options for 2024–25.
Ready to transform your space? Don’t forget: the right prep and product choices make or break the effect. Try a test wall first, and consider reviewing our small bathroom renovation guide or peel and stick backsplash solutions for finishing details. Embrace the color drenching paint technique—and make your next small room project your boldest yet.
Frequently Asked Questions
Will color drenching date quickly?
No trend lasts forever, but color drenching evolves every year. With current adaptations like double drenching and material layering, this style remains fresh. Stick to soft, timeless hues or make all details cohesive for a more classic effect.
How do I match my tiles or stone with my drenching color?
Always swatch your chosen paint color beside your tile or countertop materials in real lighting. Match warm undertones with warm, cool with cool—never mix. For tricky surfaces, choose a slightly muted or greyer version of your color.
What if my bathroom is tiny with no windows?
Stick to lighter, airy shades and semi-gloss or satin finishes to reflect what light is available. Use mirrors to expand the sense of space, and avoid super-dark palettes in windowless spaces unless you want ultra-dramatic luxury.
Should I paint both sides of bathroom doors?
For a true drench, paint the inside of the door to match the bathroom, and the hallway side to match the hall or adjacent room. This keeps transitions natural but maintains the immersive feel inside your bathroom.
Can I do color drenching if I rent?
Yes—but test on small areas or use removable wallpaper for a similar effect. For a quick impact that’s easy to reverse before moving out, see our peel and stick solutions for rental-friendly upgrades.